iPhone 5S Camera is Insane – All about The iPhone 5S Camera
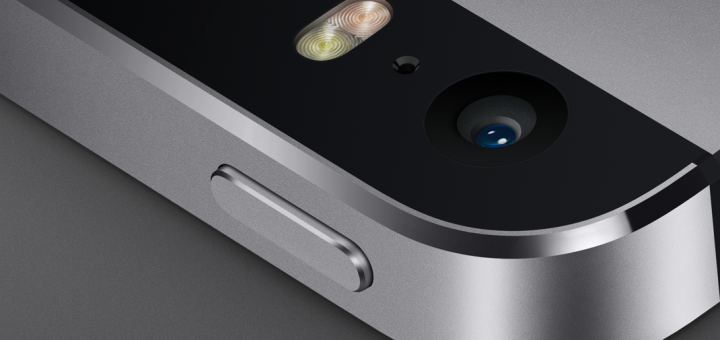
The iPhone 5S has just been unveiled (shipping September 20th), and perhaps the most amazing feature (other than the fingerprint scanner) is the camera. Apple put a lot of thought into it, and dramatically increased the quality of photo and video in every way. I’d qualify this as a point-and-shoot camera killer (past phones have severely dented it, but they’ve never crushed the market...