How To Install WordPress on a mac in 5 Clicks for free
Webmaster, bloggers, and designers often need to work on wordpress design on a test site before sending something over to a live site, but most solutions for getting wordpress installs onto a mac involve complex virtual servers, and manual uploading and setup. There’s an easier way. Here’s how to set up a fully manipulable test install of WordPress on a mac in only five clicks.

Instructions for Installing WordPress On Mountain Lion
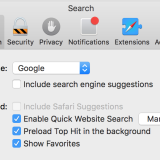
- Open up the Mac App Store.
- Search for “BitNamiStackWordpress”.
- Install the free app of the same name, and launch it.
- The app will do all the heavy lifting for you.
- In the app, go to the “manage servers” tab, and click “start all”. This will start up your new virtual server, and may take a minute.
- Go back to the welcome tab.
- Click “Visit Application”.
- Click “Access Bitnami WordPress Stack” on the web page that the last button has taken you to.
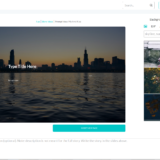
- Welcome to your new wordpress site. This is a fully functional wordpress, built for testing on your server. To get advanced with your skills, pick up a copy of wordpress for dummies.
How it Works
The app uses a variety of automated processes to set up a virtual server on your hard drive, and then installs open-source software like WordPress and PHP-MyAdmin for you, giving you full database control, and easy access to wordpress straight from your mac computer.